Your Old Laptop Is a Linux Server: A Complete Proxmox Home Lab Setup Guide
Turn an old laptop into a full Proxmox home server — Wi-Fi NAT routing, DHCP, MTU fixes, and every gotcha you'll actually hit. A practical guide that also teaches you how AWS works.

There is a laptop in your house right now that is doing nothing.
It has a quad-core CPU, 8 or 16 GB of RAM, an SSD, and runs 24/7 if you leave it plugged in. Meanwhile, you are paying a cloud provider for a VPS with worse specs — or you are wishing you had a machine to run your own services, learn infrastructure, or host side projects.
That laptop is a server. It just does not know it yet.
This guide walks through turning an old laptop into a full Linux virtualization host using Proxmox VE — the open-source hypervisor that lets you run multiple Linux VMs on a single machine, managed through a web UI. It covers every real problem I ran into setting this up on Wi-Fi: routing conflicts, failed package updates, VMs that could not reach the internet, Docker downloads that froze silently.
By the end, you will have a working home lab and, as a side effect, a clear mental model of how AWS VPCs actually work under the hood.
Why Proxmox, and Why a Laptop Specifically
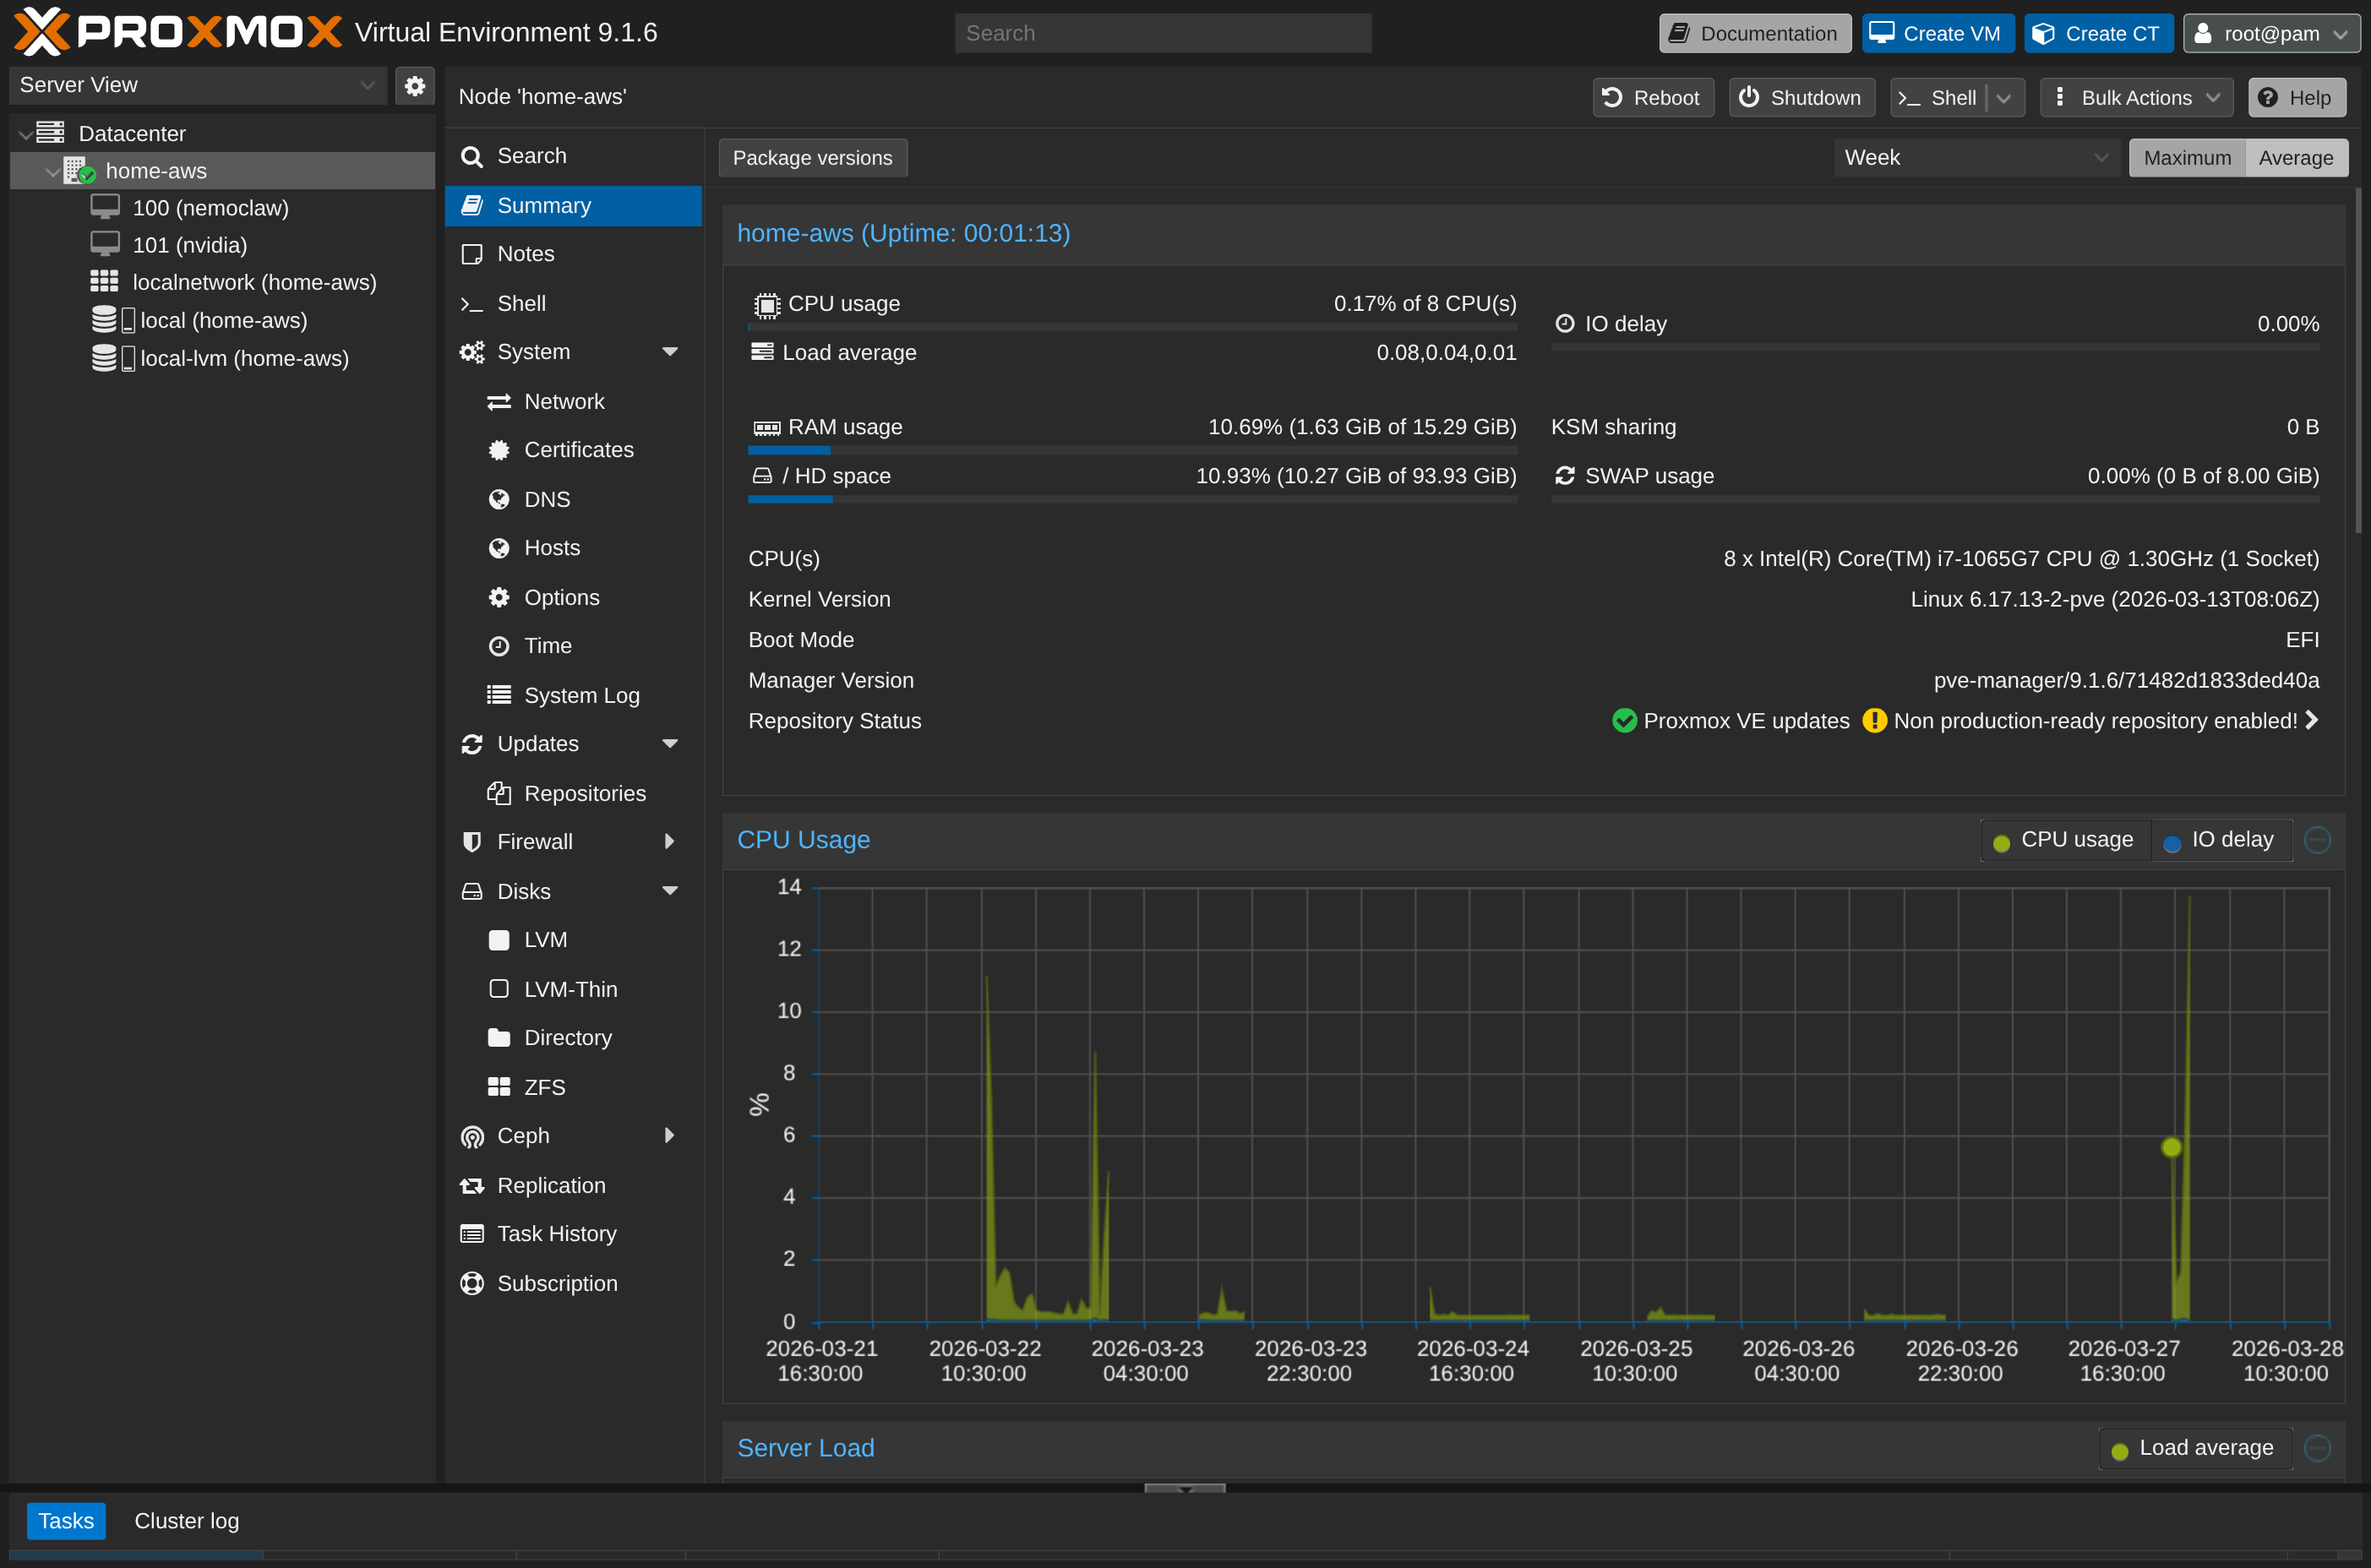
Proxmox VE is a Type-1 hypervisor based on Debian. It installs directly onto bare metal, replaces your OS entirely, and gives you a browser-based control panel at https://<your-host-ip>:8006 to create and manage virtual machines and containers.
The reason to use a laptop instead of a Raspberry Pi or a cloud VM:
- Real CPU and RAM — a mid-range laptop from 2018–2022 will outperform any ARM SBC and rival low-tier cloud instances
- Built-in UPS — the battery keeps it running through brief power cuts
- Existing hardware — you already own it
The catch: laptops use Wi-Fi, and Wi-Fi introduces two networking problems that are completely absent from every desktop home lab guide.
The Two Problems Wi-Fi Creates (and Why They Matter)
Problem 1: Routing Conflicts
When you install Proxmox, it creates a network bridge called vmbr0 and assigns it a static IP with a default gateway. Your Wi-Fi interface then also tries to set a default gateway via DHCP. Two default gateways on the same host means neither route works reliably. The result: the host loses internet access entirely after the bridge comes up.
Problem 2: Wi-Fi Cannot Bridge Multiple MAC Addresses
Standard Ethernet lets you bridge a VM’s virtual network card directly to the physical network — each VM gets its own IP from your router, like any other device on the LAN. Wi-Fi access points reject this. They authenticate a single device per connection and will silently drop traffic from MAC addresses they did not negotiate with.
This means you cannot use a standard bridged network for VMs on a Wi-Fi-connected Proxmox host.
The solution to both problems is to turn your Proxmox host into a NAT router: the host connects to your home Wi-Fi, VMs connect to an internal subnet managed by the host, and the host forwards internet traffic on their behalf. This is exactly what a cloud provider’s VPC does.
Step 1: Install Proxmox
Download the Proxmox VE ISO from proxmox.com/downloads, flash it to a USB drive with Balena Etcher or dd, and boot from it. The installer is straightforward — set a hostname, root password, and static IP for the management interface.
During installation, set the IP to your laptop’s LAN address (Proxmox will use ethernet eth0 by default — we will reconfigure it for Wi-Fi in Step 3). Once installed, you can reach the Proxmox web UI at https://<host-ip>:8006.
Step 2: Stop the Lid From Killing Your VMs
This is the step every guide forgets. Close the laptop lid — the machine suspends. Every VM dies. You SSH in from across the room and get nothing.
By default, systemd-logind treats a closed lid as a suspend signal. On a server you intend to run headless, you want it completely ignored.
Edit /etc/systemd/logind.conf:
nano /etc/systemd/logind.confFind and set these three lines (they are commented out by default — uncomment and change the value):
HandleLidSwitch=ignore
HandleLidSwitchExternalPower=ignore
HandleLidSwitchDocked=ignore
LidSwitchIgnoreInhibited=no
Apply the change without rebooting:
systemctl restart systemd-logindNow you can close the lid and the machine keeps running. Your VMs stay up, your SSH sessions stay alive, and you can tuck the laptop away anywhere with power and Wi-Fi.
Step 3: Fix the Package Manager (The First Thing That Will Break)
After a fresh install, running apt update fails with:
Err:1 https://enterprise.proxmox.com/debian/pve bookworm InRelease
  401 Unauthorized
Proxmox ships configured to use the Enterprise repository, which requires a paid subscription key. Since you do not have one, every package operation fails.
Fix it by switching to the free No-Subscription repository:
Add the free repository:
echo "deb http://download.proxmox.com/debian/pve trixie pve-no-subscription" \
> /etc/apt/sources.list.d/pve-no-subscription.listReplace trixie with your Debian codename. Proxmox 9.x is based on Debian 13 (Trixie). Run cat /etc/debian_version if unsure.
Disable the paid Enterprise repositories:
Newer Proxmox versions use .sources files (deb822 format) rather than .list files. Disable them without deleting:
echo "Enabled: false" >> /etc/apt/sources.list.d/pve-enterprise.sources
echo "Enabled: false" >> /etc/apt/sources.list.d/ceph.sources
Verify:
apt updateNo more 401 errors. You can now run apt upgrade -y safely.
Step 4: Connect Proxmox to Wi-Fi
Proxmox does not include a GUI for Wi-Fi configuration. You connect using wpa_supplicant from the shell.
Install the required packages:
apt install -y wpasupplicantCreate the Wi-Fi credentials file:
wpa_passphrase "Your_WiFi_SSID" "Your_WiFi_Password" \
  > /etc/wpa_supplicant/wpa_supplicant.conf
This generates a config file with your network credentials. The output looks like:
network={
    ssid="Your_WiFi_SSID"
    #psk="Your_WiFi_Password"
    psk=a3f8...hashed...
}
Find your Wi-Fi interface name with ip link show — it will look like wlp0s20f3 or similar.
Step 5: Configure NAT Networking (The Most Critical Step)
This is where the two Wi-Fi problems are solved together. Open /etc/network/interfaces:
nano /etc/network/interfacesReplace the contents with:
auto lo
auto wlp0s20f3

iface lo inet loopback

iface eth0 inet manual

# Wi-Fi interface — gets IP and default route from DHCP
iface wlp0s20f3 inet dhcp
        wpa-conf /etc/wpa_supplicant/wpa_supplicant.conf

# Internal VM bridge — static IP, NO gateway line
auto vmbr0
iface vmbr0 inet static
        address 192.168.100.2/24
        bridge-ports eth0
        bridge-stp off
        bridge-fd 0

        # Enable IP forwarding and NAT via Wi-Fi interface
        post-up   echo 1 > /proc/sys/net/ipv4/ip_forward
        post-up   iptables -t nat -A POSTROUTING -s '192.168.100.0/24' -o wlp0s20f3 -j MASQUERADE
        post-down iptables -t nat -D POSTROUTING -s '192.168.100.0/24' -o wlp0s20f3 -j MASQUERADE

        # MTU fix — prevents packet fragmentation issues (Docker, npm, etc.)
        post-up   iptables -t mangle -A FORWARD -p tcp --tcp-flags SYN,RST SYN -j TCPMSS --clamp-mss-to-pmtu
        post-down iptables -t mangle -D FORWARD -p tcp --tcp-flags SYN,RST SYN -j TCPMSS --clamp-mss-to-pmtu
Replace wlp0s20f3 with your actual Wi-Fi interface name.
Do not add a gateway line under vmbr0. This is the root cause of the routing conflict. The Wi-Fi interface handles the default route — the bridge should only manage the internal subnet.
Reboot to apply everything cleanly:
rebootAfter rebooting, Proxmox should be online via Wi-Fi, and vmbr0 should be up at 192.168.100.2.
Step 6: Add a DHCP Server for Your VMs
VMs on the vmbr0 bridge need IP addresses. Your home router cannot reach them (they are on a private internal subnet), so you need to run a lightweight DHCP server on the Proxmox host itself.
dnsmasq handles this cleanly:
apt install -y dnsmasqCreate a configuration file for the bridge:
cat << 'EOF' > /etc/dnsmasq.d/vmbr0.conf
interface=vmbr0
bind-interfaces
dhcp-range=192.168.100.50,192.168.100.200,24h
dhcp-option=option:router,192.168.100.2
dhcp-option=option:dns-server,8.8.8.8,1.1.1.1
EOF
Restart and enable the service:
systemctl restart dnsmasq
systemctl enable dnsmasq
VMs configured to use DHCP will now automatically receive:
- An IP address in the
192.168.100.50–200range - The Proxmox host (
192.168.100.2) as their gateway - Google and Cloudflare as DNS resolvers
To see which VM got which IP at any time:
cat /var/lib/misc/dnsmasq.leasesStep 7: The MTU Problem (What Will Break Docker and npm)
This one is subtle and painful if you do not know about it.
When a VM inside your Proxmox NAT tries to download a large file — a Docker image, an npm package, a system update — the download may start, run for a few seconds, then silently freeze. No error, no timeout for several minutes. Just… nothing.
The cause is MTU mismatch.
Standard internet uses a Maximum Transmission Unit (MTU) of 1500 bytes. Your VM traffic passes through the virtual bridge, gets NAT’d by the Proxmox host, and goes out over Wi-Fi — each hop adds overhead. When a packet exceeds what the path can carry, it needs to be fragmented. If fragmentation is blocked anywhere in the chain (which is common), the connection stalls silently.
The fix is TCP MSS Clamping — instructing the kernel to automatically reduce the maximum segment size for TCP connections to fit within the path’s actual MTU. The iptables lines already in the /etc/network/interfaces config above handle this:
post-up   iptables -t mangle -A FORWARD -p tcp --tcp-flags SYN,RST SYN -j TCPMSS --clamp-mss-to-pmtu
post-down iptables -t mangle -D FORWARD -p tcp --tcp-flags SYN,RST SYN -j TCPMSS --clamp-mss-to-pmtu
If you are running Docker inside a VM and still seeing issues, add a Docker daemon configuration on the VM itself:
# On the VM, not the Proxmox host
echo '{"mtu": 1400}' | sudo tee /etc/docker/daemon.json
sudo systemctl restart docker
This tells Docker to use a smaller MTU for its own internal bridge network, which clears up npm ETIMEDOUT and Docker pull freezes.
Creating a Virtual Machine: The Right Settings
The Proxmox VM creation wizard has sensible defaults, but a few choices matter for performance and compatibility. Here is the recommended configuration for a Linux guest.
System Tab
| Setting | Value | Why |
|---|---|---|
| Machine | q35 | Modern PCIe chipset. Required for proper UEFI support and paravirtualized drivers. i440fx is the legacy default — avoid it for new VMs. |
| BIOS | OVMF (UEFI) | UEFI is the standard on any hardware made in the last decade. Pair it with an EFI disk (Proxmox adds one automatically when you select OVMF). |
| EFI Storage | any local storage | Stores the UEFI firmware variables. Required with OVMF — Proxmox prompts you to create it. |
| QEMU Agent | Enabled | Allows Proxmox to query the VM’s real IP address, issue graceful shutdowns, and take consistent snapshots. You need to install the agent inside the guest after boot (see below). |
Disks Tab
| Setting | Value | Why |
|---|---|---|
| SCSI Controller | VirtIO SCSI single | Best-performing paravirtualized controller for Linux. Lower CPU overhead than LSI or VirtIO SCSI. |
| Bus/Device | SCSI | Use with the VirtIO SCSI single controller above. |
| Cache | Write back (optional) | Slightly better write performance. Only use if your host has a UPS or battery backup — unsafe on sudden power loss without it. |
CPU Tab
| Setting | Value | Why |
|---|---|---|
| Type | x86-64-v2-AES | A baseline that works across most hardware and enables AES-NI for encryption. Use host only if you never plan to live-migrate the VM to a different machine. |
| Cores | 2–4 | Start conservative. Proxmox VMs share physical cores — over-allocating across many VMs causes contention. |
Network Tab
| Setting | Value | Why |
|---|---|---|
| Bridge | vmbr0 | The NAT bridge we configured. |
| Model | VirtIO (paravirtualized) | Best performance for Linux guests. Avoid e1000 unless the guest OS does not support VirtIO. |
| MTU | Same as bridge | Leave this alone. The iptables MSS clamping rule on vmbr0 already handles fragmentation dynamically — setting a hard MTU here would permanently reduce throughput even when it is not needed. |
The MTU field in the Proxmox network tab controls the virtual NIC’s maximum frame size. TCP MSS clamping (configured in /etc/network/interfaces) is a smarter approach: it negotiates the correct segment size per-connection at handshake time, so large local transfers still use full-size packets while internet-bound TCP traffic is automatically reduced to fit the Wi-Fi path.
After Boot: Install the QEMU Guest Agent
The “QEMU Agent” checkbox in Proxmox only opens a virtio-serial communication channel on the hypervisor side. The other end — the daemon that listens and responds inside the guest — is qemu-guest-agent, a package that lives inside the VM’s OS. Proxmox cannot cross that boundary and install it for you; the hypervisor manages virtual hardware, not the guest’s filesystem.
If you enable the checkbox but skip the install, Proxmox silently waits for a response that never comes. Graceful shutdowns fall back to hard power-off, IP addresses do not appear in the UI, and snapshots are not filesystem-consistent.
On Ubuntu/Debian guests:
sudo apt install -y qemu-guest-agent
sudo systemctl enable --now qemu-guest-agent
On RHEL/Fedora/Rocky guests:
sudo dnf install -y qemu-guest-agent
sudo systemctl enable --now qemu-guest-agent
Automating it with Cloud-Init: If you are using a cloud-init-enabled image (Ubuntu Cloud, Debian Cloud), you can have Proxmox inject this at first boot without touching the VM at all. In the VM’s Cloud-Init tab, add the following under “User data” packages:
packages:
  - qemu-guest-agent
runcmd:
  - systemctl enable --now qemu-guest-agent
Proxmox writes this into the cloud-init drive at boot, and the guest OS handles the rest. Standard ISO installs do not have this option — manual install required.
Once the agent is running, the VM’s IP address will appear directly in the Proxmox web UI under the VM’s Summary tab, and qm shutdown <vmid> will issue a clean ACPI shutdown instead of a hard power-off.
Network Settings Inside the Guest
If the VM is configured for DHCP, dnsmasq will assign an address automatically. For a static IP (useful for services you want to reach consistently), configure the guest with:
| Setting | Value |
|---|---|
| IP Address | 192.168.100.X (pick anything from 10–250, avoid 50–200 if dnsmasq is also running DHCP) |
| Subnet Mask | 255.255.255.0 (/24) |
| Gateway | 192.168.100.2 |
| DNS | 8.8.8.8 or 1.1.1.1 |
If a VM boots and cannot reach the internet despite dnsmasq running, it may have attempted DHCP before the service came up. Force a fresh request from the Proxmox console:
sudo dhclientReaching Your VMs from Other Machines
Your VMs are on a private subnet (192.168.100.x) that is not directly routable from your home network. The cleanest way to access them is via an SSH jump host through the Proxmox host itself.
From your laptop or desktop:
ssh -J root@<proxmox-host-ip> user@192.168.100.XFor example:
ssh -J root@192.168.1.6 ubuntu@192.168.100.59This tells SSH to first connect to the Proxmox host, then tunnel through to the VM — no VPN, no port forwarding required.
To make specific services (web apps, APIs) accessible from your home network, add a port-forwarding rule on the Proxmox host:
iptables -t nat -A PREROUTING -i wlp0s20f3 -p tcp --dport 8080 \
  -j DNAT --to-destination 192.168.100.59:80
This forwards port 8080 on the Proxmox host to port 80 on a VM at 192.168.100.59.
What You Actually Just Built
Take a step back. In about an hour of configuration, you:
- Installed a Type-1 hypervisor on bare metal
- Connected it to Wi-Fi with credentials-based authentication
- Configured a NAT routing table that forwards VM traffic through a shared connection
- Deployed a DHCP server that hands out IPs on a private subnet
- Fixed packet fragmentation issues across a multi-hop virtual network
This is not a toy setup. This is, structurally, an AWS VPC.
When you click “Create VPC” in AWS, Amazon’s infrastructure does exactly this — a bridge network, NAT gateway, DHCP lease management, routing rules — at datacenter scale, automated by their SDN control plane and offloaded to custom silicon (Nitro Cards). The abstractions differ, but the networking primitives are identical.
The differences are about scale, not concept:
- Wi-Fi vs Fiber: AWS owns 400 Gbps fiber uplinks. Their top-of-rack switches accept thousands of MAC addresses per port, so they can route directly without NAT. You are working around a Wi-Fi limitation that they do not have.
- SDN vs iptables: AWS uses Open vSwitch and custom distributed routing systems. You used iptables and a Linux bridge. Same logical function.
- IPAM vs dnsmasq: AWS hypervisors intercept DHCP broadcasts at the virtual NIC level and consult a central IP Address Management API to inject responses. You deployed dnsmasq. Same outcome.
- MTU: Inside an AWS VPC, Jumbo Frames allow 9001-byte MTUs. Their edge routers handle clamping when traffic exits. You configured TCP MSS clamping manually. Same fix, different layer.
Understanding this makes cloud networking far less abstract. The next time you configure a VPC subnet, a NAT gateway, or a security group rule, you know what the underlying system is doing — because you built it yourself.
Checklist: What to Verify After Setup
apt updateruns without 401 errors- Proxmox web UI is reachable at
https://<host-ip>:8006 ip routeshows a default route viawlp0s20f3, notvmbr0ping 8.8.8.8works from the Proxmox host shell- A VM on
vmbr0receives an IP in192.168.100.50–200 ping 8.8.8.8works from inside the VMapt updateworks from inside the VM- Docker image pulls complete without hanging (if using Docker)
- SSH jump host access works from an external machine
The laptop in the drawer has been running a datacenter the whole time. It was just waiting for the right configuration.

Other posts
See all posts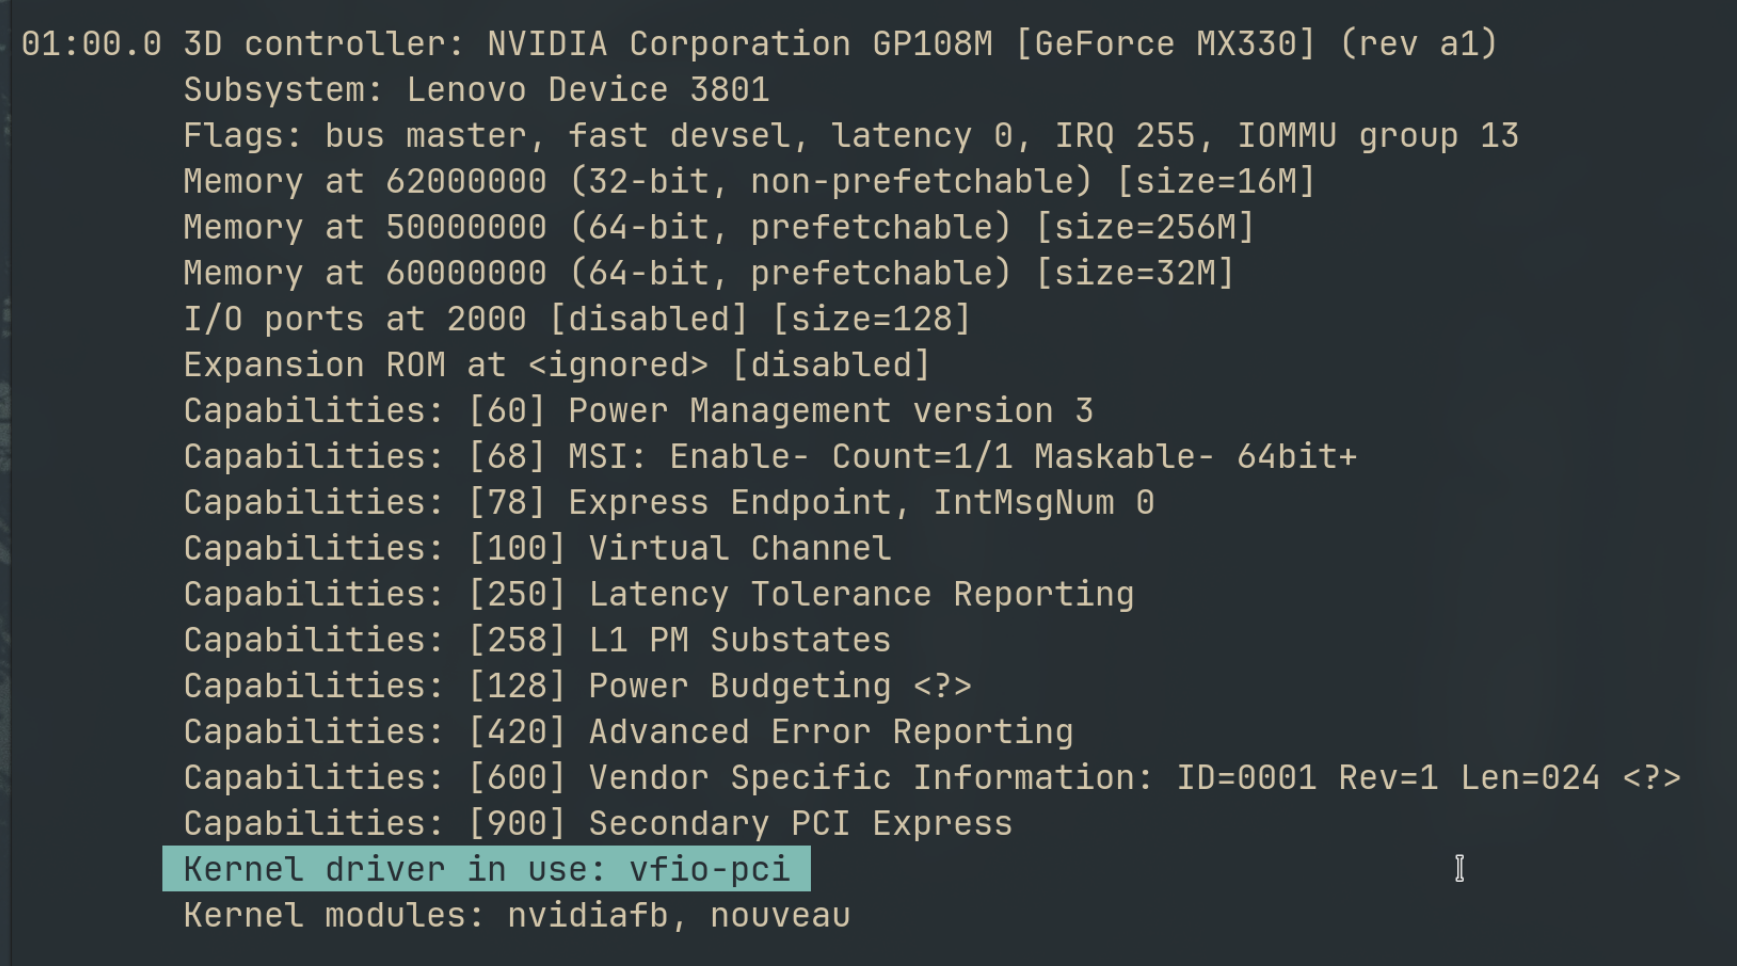
Why Your Laptop GPU Will Never Work with Proxmox Passthrough
Six attempts, three days, one stubborn MX330. A post-mortem on laptop GPU passthrough in Proxmox — what failed, why it's architecturally impossible, and exactly what to buy instead.

Quantum Computing for the Curious Developer: Building Your First Circuits with Qiskit
A developer's hands-on guide to quantum computing fundamentals — from qubits and gates to building a quantum teleportation circuit, no physics degree required.

When localhost Lied to Me: Debugging Playwright in a Containerized CI Runner
A Docker networking war story — why localhost lies inside containers, how --add-host gets you close, and how socat bridges the final gap for Playwright E2E tests.