Confiuration for making Delve work with neovim

Table of Contents
Introduction#
Delve is a debugger for the Go programming language. It allows you to inspect the state of your program while it is running, set breakpoints, and step through your code. It is a powerful tool for debugging Go applications and can help you find and fix bugs quickly.
In this blog post, I will share my experience with setting up Delve for debugging Go applications in Neovim. I will cover the installation process, configuration, and some tips and tricks to make the most out of Delve.
Prerequisites#
- Go installed on your system
- Delve installed on your system
- Neovim installed on your system
Learn more#
Delve#
it has mainly 2 modes interms of neovim with dap
attach: attach to a running process via some portlaunch: start a new process and debug it
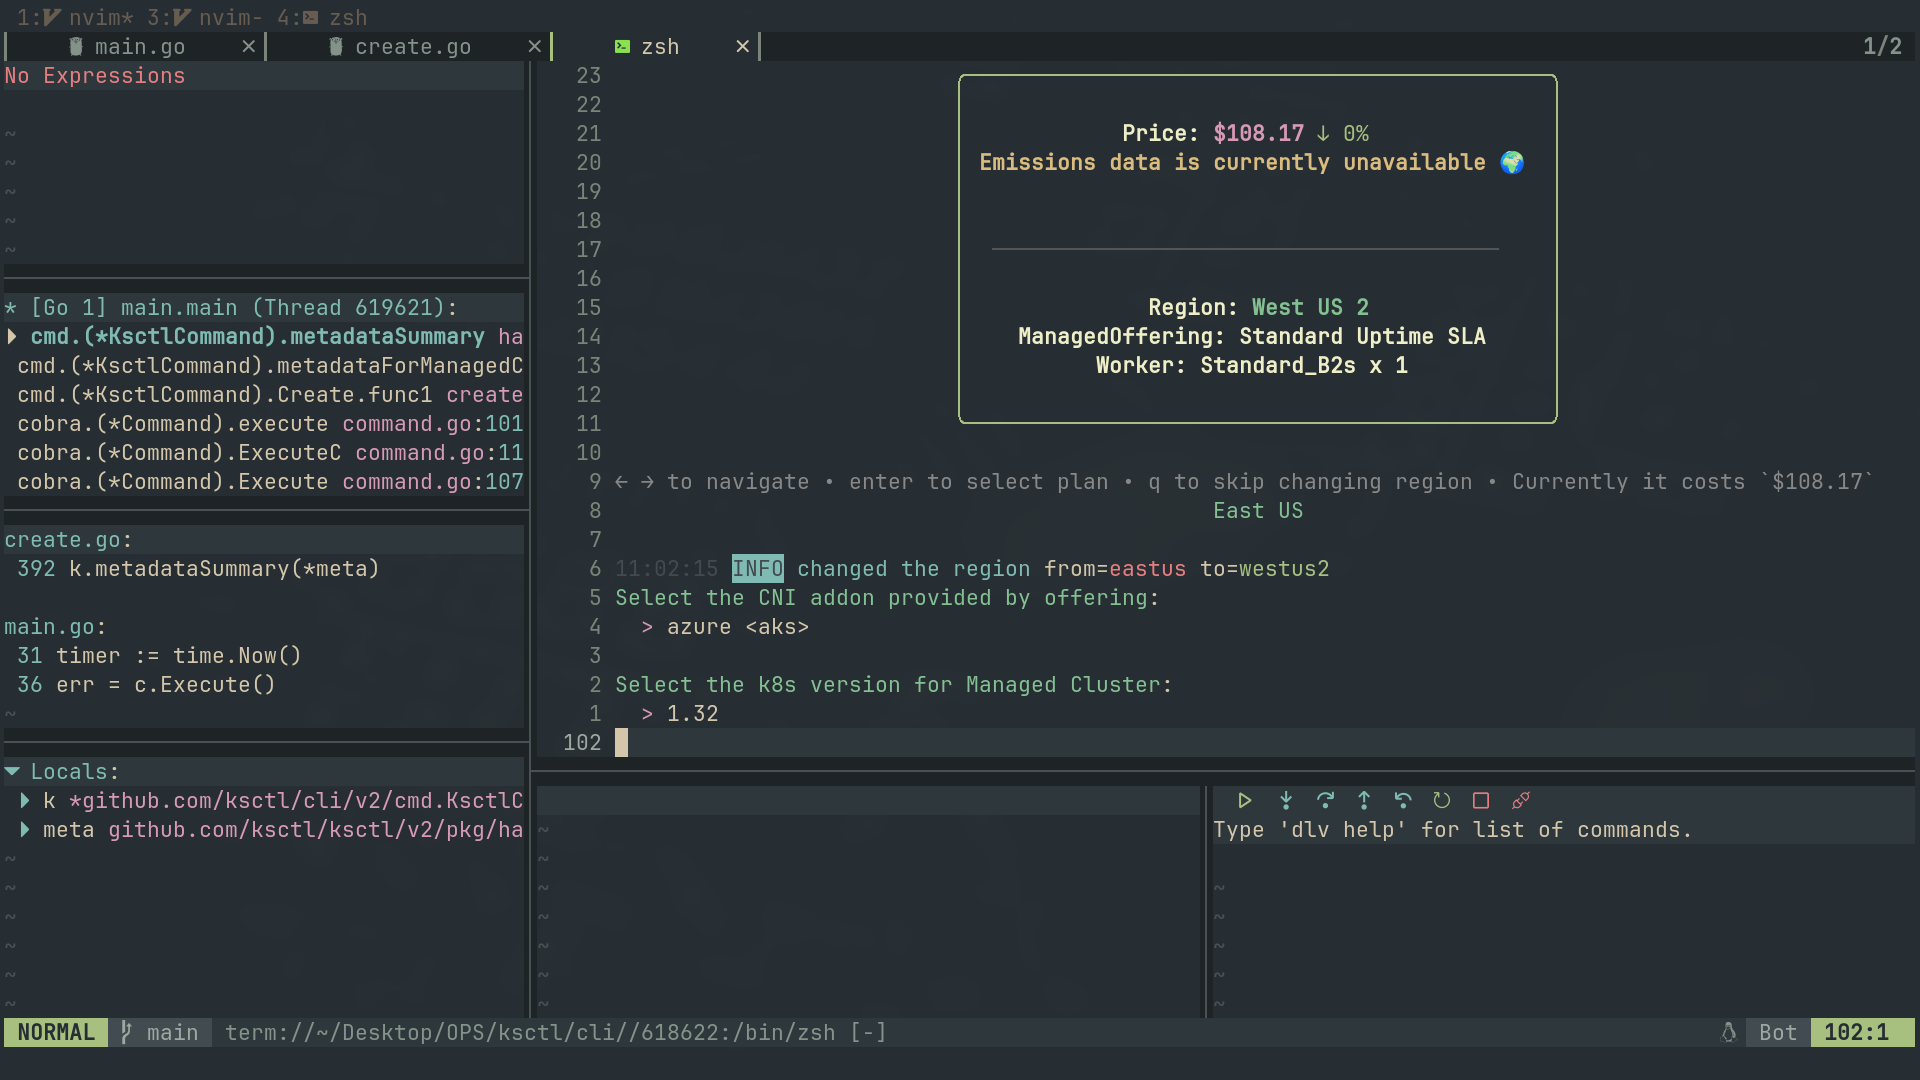
Note when you want to have stdin and stdout capabilities you need to use
attachmode. Where a server running in headless mode is first created and the debugging client calls it, thus you can perform normal program execution in the terminal where the server is running. This is useful for debugging programs that require user input or output to the terminal.
Neovim#
this is for better tab management (Optional)
  {
    'romgrk/barbar.nvim',
    dependencies = {
      'lewis6991/gitsigns.nvim', -- OPTIONAL: for git status
      'nvim-tree/nvim-web-devicons', -- OPTIONAL: for file icons
    },
    init = function()
      vim.g.barbar_auto_setup = true
    end,
  },
then comes the dap configuration
  {"ldelossa/nvim-dap-projects"},
  {"mfussenegger/nvim-dap"},
  {
    "rcarriga/nvim-dap-ui",
    dependencies = {"mfussenegger/nvim-dap", "nvim-neotest/nvim-nio"},
    config = function ()
      require("dapui").setup()
    end
  },
  {
    "leoluz/nvim-dap-go",
    config = function()
      require("dap-go").setup({
        dap_configurations = {
          {
            type = "go",
            name = "For specific program",
            mode = "remote",
            request = "attach",
            program = "${file}",
            args = require("dap-go").get_arguments,
            buildFlags = require("dap-go").get_build_flags,
          },
          {
            type = "go",
            name = "Attach remote", -- this is the name that will be shown in the dap ui
            mode = "remote",
            request = "attach",
            port = function()
              return tonumber(vim.fn.input('Port: ', '40404'))
            end,
          },
        },
        delve = {
          path = "/home/dipankar/go/bin/dlv",
          initialize_timeout_sec = 30,
          -- args = dap_go.get_arguments,
          -- build_flags = dap_go.get_build_flags,
        },
      })
    end,
  },
then add these keymaps for better and easier navigations
vim.keymap.set('n', '<F5>', function() require('dap').continue() end, { desc = 'Go debug CONTINUE' })
vim.keymap.set('n', '<Leader>db', function() require('dap').toggle_breakpoint() end, { desc = '[D]ebug [b]reakpoint' })
vim.keymap.set('n', '<Leader>dU', function() require('dapui').toggle() end, { desc = '[D]ebug [U]UI toggle' })
vim.keymap.set('n', '<Leader>lp', function() require('dap').set_breakpoint(nil, nil, vim.fn.input('Log point message: ')) end, { desc = '[l]log pointer for debug' })

vim.keymap.set({'n', 'v'}, '<Leader>dh', function()
  require('dap.ui.widgets').hover()
end, {desc = 'debug hover info'})
vim.keymap.set({'n', 'v'}, '<Leader>dp', function()
  require('dap.ui.widgets').preview()
end)
vim.keymap.set('n', '<Leader>df', function()
  local widgets = require('dap.ui.widgets')
  widgets.centered_float(widgets.frames)
end)
vim.keymap.set('n', '<Leader>ds', function()
  local widgets = require('dap.ui.widgets')
  widgets.centered_float(widgets.scopes)
end)


local dap, dapui = require("dap"), require("dapui")
dap.listeners.after.event_initialized["dapui_config"] = function()
  dapui.open()
end
dap.listeners.before.event_terminated["dapui_config"] = function()
  dapui.close()
end
dap.listeners.before.event_exited["dapui_config"] = function()
  dapui.close()
end
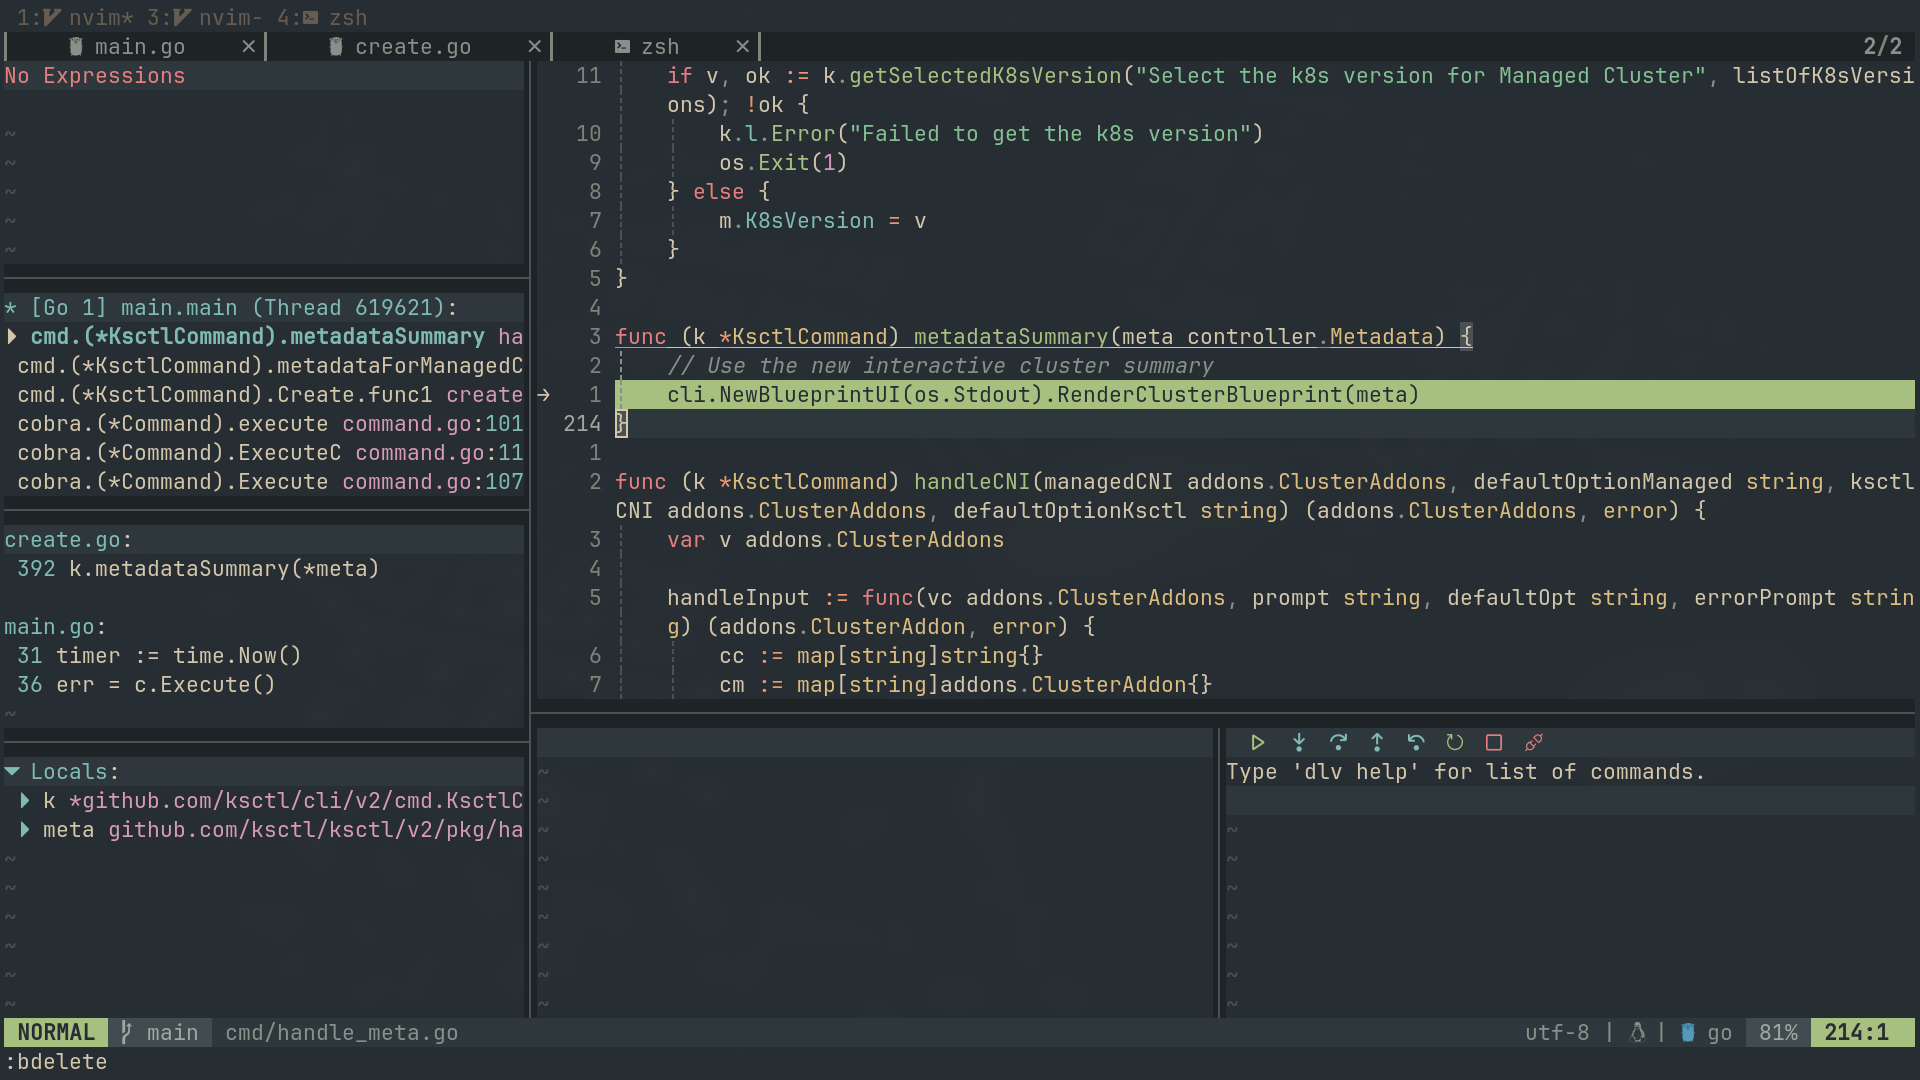
Lets Begin Debugging#
Now once all of these configurations are ready
start a new terminal session and run the command
dlv debug --headless --listen=:40404 --api-version=2 --redirect="stdin:/dev/stdin" --redirect="stdout:/dev/stdout" --redirect="stderr:/dev/stderr" -- <program args>
now open your neovim
- Navigate to your main program
- Attach Breakpointers
- Start the debugger by Pressing
F5and choose theAttach remoteoption
Tip You can be in same neovim session and still be able to run terminal there itself for that just do
:tabnew +termand then run the dap server there
Conclusion#
In this blog post, I shared my experience with setting up Delve for debugging Go applications in Neovim. I covered the installation process, configuration, and some tips and tricks to make the most out of Delve. I hope you found this blog post helpful and that it will help you debug your Go applications more effectively.
If you have any questions or comments, please feel free to reach out to me on Twitter or GitHub. I would love to hear from you!